Brivis Climate Control User Manual: A Comprehensive Guide

Welcome! This manual details operation of your Brivis system‚ covering remote control functions‚ safety features‚ and maintenance. It’s designed for easy understanding and optimal performance.
Brivis represents a commitment to innovative and reliable climate control solutions for your home or office. This section introduces you to the core principles behind our systems‚ designed for optimal comfort and energy efficiency. Our systems utilize advanced technology to precisely regulate temperature‚ humidity‚ and air quality‚ creating a healthier and more enjoyable indoor environment.
Understanding your Brivis system begins with recognizing its components. These typically include an indoor unit‚ responsible for distributing conditioned air‚ and an outdoor unit‚ which handles heat exchange. A sophisticated control system‚ often managed via a remote controller‚ orchestrates the operation of these components. The remote‚ as detailed in this manual‚ provides intuitive access to various settings and functions.
This user manual serves as a comprehensive guide to unlocking the full potential of your Brivis climate control system. We’ll explore everything from basic operation and remote control functionality to advanced features like timer settings and troubleshooting common issues. Proper understanding and maintenance‚ as outlined within‚ will ensure years of dependable performance and contribute to significant energy savings. Remember to consult the safety guidelines for responsible operation;
Understanding Your Remote Controller
Your Brivis remote controller is the central command unit for your climate control system‚ offering convenient and precise control over your indoor environment; This device features a user-friendly interface‚ typically incorporating numbered buttons and a clear display panel. Familiarizing yourself with its layout and functions is crucial for maximizing your comfort and system efficiency.
The remote controller allows you to adjust a wide range of settings‚ including power on/off‚ operating mode (cooling‚ heating‚ auto)‚ fan speed‚ and temperature. Many models also include advanced features like timer programming‚ sleep mode‚ and a child lock function for added safety. The display provides real-time feedback on your selected settings and system status.
As highlighted in available documentation‚ the remote boasts 13 numbered buttons‚ each dedicated to a specific function. This manual will systematically guide you through each button’s purpose‚ ensuring you can effortlessly navigate the controller’s capabilities. Proper battery maintenance is also essential for reliable operation; instructions for replacement are included later in this guide.

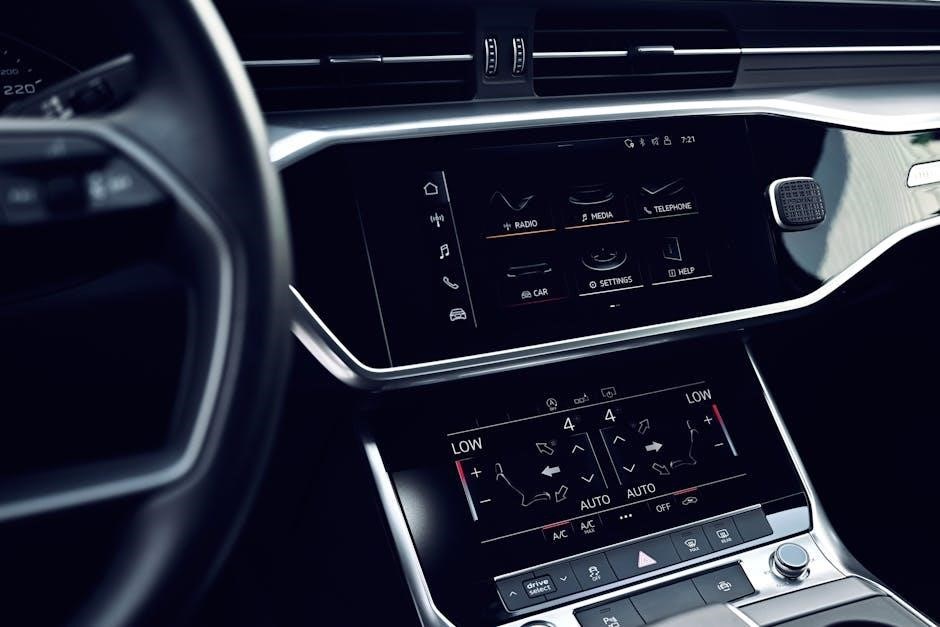
Remote Controller Display Overview
The Brivis remote controller display provides a clear and concise overview of your system’s current operating status and selected settings. Typically‚ the display prominently features the current room temperature‚ alongside the target temperature you’ve set. Icons indicate the active operating mode – cooling (snowflake)‚ heating (flame)‚ or automatic mode.
You’ll also find indicators for fan speed (low‚ medium‚ high‚ auto)‚ timer status (if a schedule is programmed)‚ and whether the child lock feature is engaged. Some models display the current time‚ and potentially humidity levels. Error codes‚ should they occur‚ will also appear on the display‚ prompting you to consult the troubleshooting section of this manual.
The display utilizes easily recognizable symbols and numerical readouts for intuitive understanding. Brightness levels may be adjustable on certain models. Understanding the information presented on the display is key to effectively controlling your Brivis climate control system and ensuring optimal comfort. Refer to the button function descriptions for correlating control options.
Button Functions: Power & Basic Operations
The Power button‚ typically marked with a universal power symbol‚ is your primary control for turning the Brivis system on and off. A single press activates the unit‚ resuming the previously selected settings. Another press completely shuts down the system. Basic operations also include temperature adjustment‚ managed by the ‘Up’ and ‘Down’ arrow buttons. These buttons incrementally increase or decrease the target temperature in one-degree increments.
The remote often features buttons for selecting operation modes – cooling‚ heating‚ and auto – each clearly labeled with corresponding icons. A ‘Mode’ button cycles through these options. Additionally‚ buttons dedicated to fan speed control (low‚ medium‚ high‚ auto) allow you to adjust airflow. The remote’s display will reflect your selections.
Many Brivis remotes include a ‘Time’ or ‘Clock’ button for setting the current time‚ crucial for utilizing the timer functions. Familiarizing yourself with these core buttons ensures effortless control over your indoor climate.
Mode Selection: Cooling‚ Heating‚ Auto
Cooling Mode‚ indicated by a snowflake icon‚ activates the air conditioning function‚ lowering the room temperature to your desired setting. The system efficiently removes heat‚ providing a comfortable cooling experience. Heating Mode‚ symbolized by a flame‚ engages the heating element‚ warming the air to maintain your preferred temperature. This mode is ideal for colder seasons.
Auto Mode is a smart function that automatically selects either cooling or heating based on the current room temperature and your setpoint. The system intelligently adjusts to maintain optimal comfort without manual intervention. This mode offers convenience and energy efficiency. Selecting a mode is typically done via a dedicated ‘Mode’ button on the remote controller‚ cycling through the available options.
The remote display clearly indicates the currently active mode. Ensure the correct mode is selected for your desired climate control. Proper mode selection maximizes comfort and energy savings.
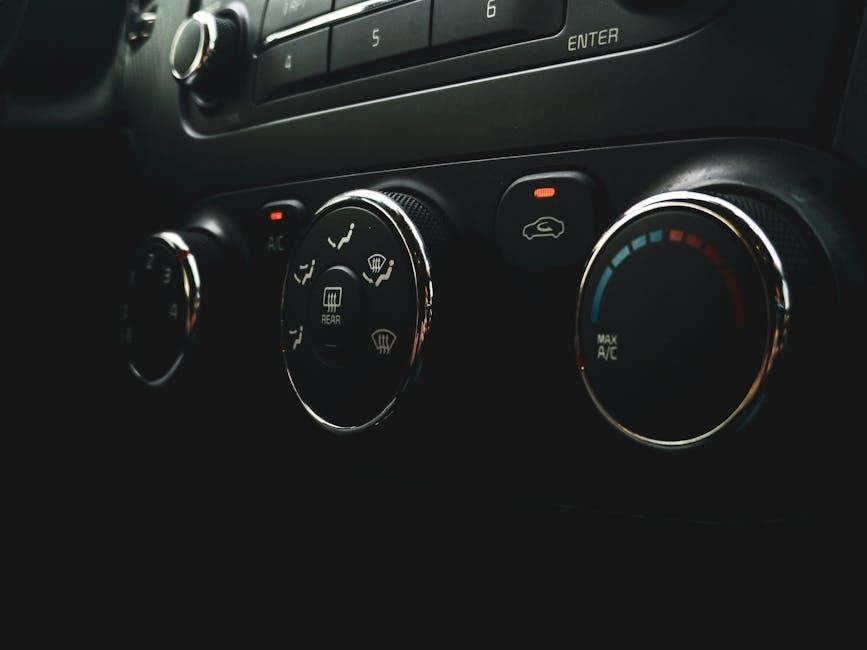
Fan Speed Control
Fan speed control allows you to adjust the airflow of your Brivis climate control system‚ impacting both comfort and energy consumption. Typically‚ the remote controller features multiple fan speed settings‚ ranging from Low to High. The ‘Fan’ button cycles through these options.
Low fan speed provides a gentle airflow‚ ideal for quiet operation and maintaining a consistent temperature without drafts. Medium fan speed offers a balance between airflow and noise‚ suitable for general use. High fan speed delivers maximum airflow for rapid cooling or heating‚ quickly adjusting the room temperature.
An Auto fan speed setting is also common‚ where the system automatically adjusts the fan speed based on the temperature difference between the room and the setpoint. This optimizes energy efficiency and comfort. The current fan speed is usually displayed on the remote controller’s screen. Experiment with different settings to find your preferred balance of comfort and energy savings.
Temperature Adjustment
Adjusting the temperature is central to controlling your comfort with the Brivis climate control system. Your remote controller utilizes dedicated temperature up and temperature down buttons‚ often indicated with ‘+’ and ‘-’ symbols‚ respectively. Each press of these buttons typically alters the set temperature by one degree Celsius or Fahrenheit‚ depending on your system’s configuration.
The currently set temperature is prominently displayed on the remote controller’s screen. Ensure the display reflects your desired comfort level. Remember that the system will work to reach this set temperature‚ not necessarily maintain a constant room temperature due to external factors.
Consider the Auto mode‚ which automatically adjusts both heating and cooling to maintain the set temperature. For precise control‚ use the manual cooling or heating modes. Regularly check and adjust the temperature to optimize comfort and energy efficiency‚ especially with changing weather conditions.

Timer Functionality: Setting Schedules

Brivis systems offer robust timer functionality‚ allowing you to pre-program operation schedules for enhanced convenience and energy savings. Access the timer settings via the dedicated “Timer” button on your remote controller. The system typically supports both “On” timers (to start the unit at a specific time) and “Off” timers (to stop the unit at a specific time).
Programming involves setting the desired start/stop time and selecting the days of the week for the schedule to repeat. Some models allow multiple timer settings for varied daily routines. Carefully review the remote controller’s display to confirm the programmed schedule is accurate.
Utilizing the timer function minimizes energy consumption by ensuring the system operates only when needed. For example‚ schedule cooling to begin shortly before you arrive home‚ or heating to turn off while you’re asleep. Experiment with different schedules to find the optimal balance between comfort and efficiency.

Child Lock Feature & Safety Precautions
Brivis prioritizes safety‚ incorporating a Child Lock feature to prevent unintended operation by young children. Activate this feature‚ typically by pressing and holding specific buttons on the remote controller (consult your remote’s display overview for exact instructions). When enabled‚ most remote buttons become unresponsive‚ safeguarding against accidental changes to settings.
Important Safety Precautions: Never attempt to disassemble or repair the Brivis unit yourself. This could lead to electrical shock or system malfunction. Ensure the unit is properly grounded. Keep flammable materials away from the indoor and outdoor units. Do not operate the system with a damaged power cord or plug.
Regularly inspect the units for any signs of damage. If you notice anything unusual‚ immediately disconnect the power and contact qualified service personnel. Always follow local electrical codes and regulations when installing and operating your Brivis climate control system.
Troubleshooting Common Issues
Experiencing problems? This section addresses frequent concerns. If your remote control isn’t responding‚ first check the batteries – replace them if necessary. Ensure there are no obstructions between the remote and the indoor unit. Try resetting the unit by briefly disconnecting the power.
Air conditioner not turning on? Verify the power cord is securely plugged in and the circuit breaker hasn’t tripped. Check the thermostat settings and ensure the desired temperature is appropriately set. A faulty main board‚ as indicated in service manuals‚ might require professional attention or a refurbished replacement for cost savings.

If issues persist‚ consult the error code section for specific diagnostics. Remember‚ attempting self-repair can be dangerous; always prioritize contacting qualified Brivis service technicians for complex problems. Regular maintenance‚ like filter cleaning‚ can prevent many common issues.
Remote Control Not Responding
Is your remote ignoring commands? Don’t worry‚ this is a common issue with simple solutions. The first step is to check the batteries. Even if the display is visible‚ batteries might lack sufficient power for signal transmission. Replace them with fresh ones‚ ensuring correct polarity.
Next‚ ensure a clear line of sight between the remote and the indoor unit’s receiver. Obstructions like furniture or decorations can interfere with the infrared signal. Try moving closer to the unit. Also‚ avoid direct sunlight on the receiver‚ as it can cause interference.
If the problem continues‚ reset the air conditioning unit by briefly disconnecting it from the power source. Wait a few minutes before plugging it back in. A malfunctioning remote might indicate a need for replacement‚ but always rule out simpler causes first. The remote has 13 numbered buttons controlling various functions.
Air Conditioner Not Turning On
Facing a complete system shutdown? Several factors could prevent your Brivis unit from powering on. First‚ verify the power supply. Ensure the unit is properly plugged into a functioning outlet and that the circuit breaker hasn’t tripped. Check for any power outages in your area.
Next‚ examine the remote control. Confirm it has working batteries and is sending a signal (try the ‘on/off’ button repeatedly). If the remote seems unresponsive‚ refer to the ‘Remote Control Not Responding’ section. A faulty main board‚ as indicated in service manuals‚ might be the culprit‚ potentially requiring replacement or refurbishment.
If power is confirmed and the remote functions‚ the issue could be internal. Check for error codes displayed on the indoor unit – these provide valuable diagnostic clues. If no error code appears‚ a professional service technician may be needed to diagnose and repair the unit. Remember safety first – do not attempt repairs yourself if unqualified.
Filter Maintenance & Replacement
Maintaining clean filters is crucial for optimal Brivis system performance and air quality. Dirty filters restrict airflow‚ reducing cooling/heating efficiency and potentially causing system strain. Regularly inspect your filters – ideally‚ every month during peak usage (cooling/heating seasons) and at least every three months otherwise.
To access the filters‚ locate the filter access panel on your indoor unit (refer to your system’s specific installation guide). Gently remove the filters and assess their condition. If visibly dirty‚ vacuum them lightly to remove loose dust. For heavily soiled filters‚ hand wash with mild detergent and water‚ ensuring they are completely dry before reinstalling.
Replacement is recommended every 6-12 months‚ depending on usage and environmental factors. Use only Brivis-approved replacement filters to ensure proper fit and performance. A clogged filter can lead to increased energy consumption and potential system malfunctions. Prioritize filter maintenance for a healthier and more efficient climate control experience.
Cleaning and Care of Your Brivis System
Regular cleaning extends the lifespan and maintains the efficiency of your Brivis climate control system. Begin by turning off the power to the unit at the breaker before any cleaning. For the outdoor unit‚ remove any debris like leaves‚ branches‚ or snow from around the condenser. Gently clean the fins with a soft brush or vacuum – avoid bending them.
The indoor unit’s casing can be wiped down with a damp cloth and mild detergent. Ensure the area around the unit is kept clear for proper airflow. Do not use abrasive cleaners or solvents‚ as these can damage the finish. Periodically check and clean the condensate drain line to prevent blockages and water damage.
Professional servicing is recommended annually. A qualified technician can perform a thorough inspection‚ clean internal components‚ and identify potential issues before they escalate. Consistent care ensures optimal performance‚ energy efficiency‚ and a comfortable indoor environment for years to come.
Understanding Error Codes
Your Brivis system utilizes error codes to diagnose potential issues‚ displayed on the remote controller or indoor unit. These codes provide valuable information for troubleshooting and informing a service technician. Do not attempt to repair internal components yourself; always consult a qualified professional.
Common error codes might indicate issues like sensor failures‚ refrigerant leaks‚ or compressor problems. For example‚ a code relating to the temperature sensor suggests a potential malfunction requiring replacement. Refer to the complete error code list in the appendix of this manual for specific definitions and recommended actions.
Documenting the error code before contacting support is crucial for efficient assistance. The service manual‚ accessible to technicians‚ provides detailed diagnostic steps based on these codes. Ignoring error codes can lead to further damage and costly repairs. Prompt attention to these signals ensures the longevity and reliable operation of your Brivis climate control system.
Advanced Features: Swing & Sleep Modes
Enhance your comfort with Brivis’ advanced features: Swing and Sleep modes. Swing mode automatically adjusts the louvers‚ distributing air evenly throughout the room‚ eliminating hot or cold spots. You can typically select various swing patterns – vertical‚ horizontal‚ or automatic – via the remote controller.
Sleep mode is designed for overnight comfort. It gradually increases (cooling) or decreases (heating) the set temperature during the night‚ optimizing energy efficiency and preventing discomfort from temperature fluctuations while you sleep. This mode often features a pre-set temperature adjustment curve‚ but some models allow customization.
Utilizing these features maximizes both comfort and energy savings. Experiment with different swing patterns to find what best suits your room layout. Sleep mode is particularly beneficial for maintaining a comfortable sleep environment without excessive energy consumption. Refer to your remote controller’s display for activation and customization options.
Replacing the Remote Controller Battery
Maintaining your remote’s functionality requires periodic battery replacement. Low battery power can cause diminished range or unresponsive controls. Typically‚ Brivis remote controllers utilize standard AAA or AA batteries – check the battery compartment for the correct type.
To replace the batteries‚ locate the battery compartment‚ usually on the back or bottom of the remote. Gently slide or lift the compartment cover to access the battery slots. Remove the old batteries‚ noting the correct polarity (+ and -) indicated inside the compartment. Insert new batteries‚ ensuring proper alignment.
Securely close the battery compartment cover. Test the remote by attempting basic functions like power on/off. If the remote still doesn’t respond‚ double-check battery polarity and ensure the batteries are fresh. Dispose of old batteries responsibly‚ following local regulations for battery recycling.
Warranty Information & Support
Your Brivis Climate Control system is covered by a comprehensive warranty‚ protecting against defects in materials and workmanship. Warranty duration varies depending on the specific component – typically‚ compressors have longer warranties than other parts. Please retain your proof of purchase‚ as it’s required for all warranty claims.
To initiate a warranty claim‚ contact Brivis Customer Support. Detailed warranty terms and conditions are outlined in the separate warranty document included with your system. This document specifies what is covered‚ what is excluded‚ and the process for submitting a claim.
For technical support‚ troubleshooting assistance‚ or to locate an authorized Brivis service provider‚ visit our website or call our dedicated support line. Our knowledgeable team is available to assist you with any questions or concerns regarding your Brivis system. We are committed to ensuring your complete satisfaction.
Safety Guidelines & Important Notices

Prior to operating your Brivis Climate Control system‚ carefully review these safety guidelines. Always disconnect power before performing any maintenance or cleaning procedures to prevent electrical shock. Do not operate the system with a damaged power cord or plug.
Keep the unit and remote control away from water and excessive moisture. Never insert objects into the air vents‚ as this could damage the system and pose a safety hazard. The child lock feature should be utilized when children are present to prevent accidental operation.
Regular filter maintenance is crucial for optimal performance and air quality. Do not attempt to repair the system yourself; contact a qualified technician for any repairs. Ensure proper ventilation around the unit and avoid obstructing airflow. Adherence to these guidelines will ensure safe and efficient operation of your Brivis system.