James Hardie board and batten offers a classic‚ vertical aesthetic‚ blending timeless style with modern durability. This siding solution‚ gaining popularity in 2026‚ provides homeowners with a robust and visually appealing exterior option‚ simplifying pool maintenance and offering superior cleaning capabilities.
What is James Hardie Board and Batten?
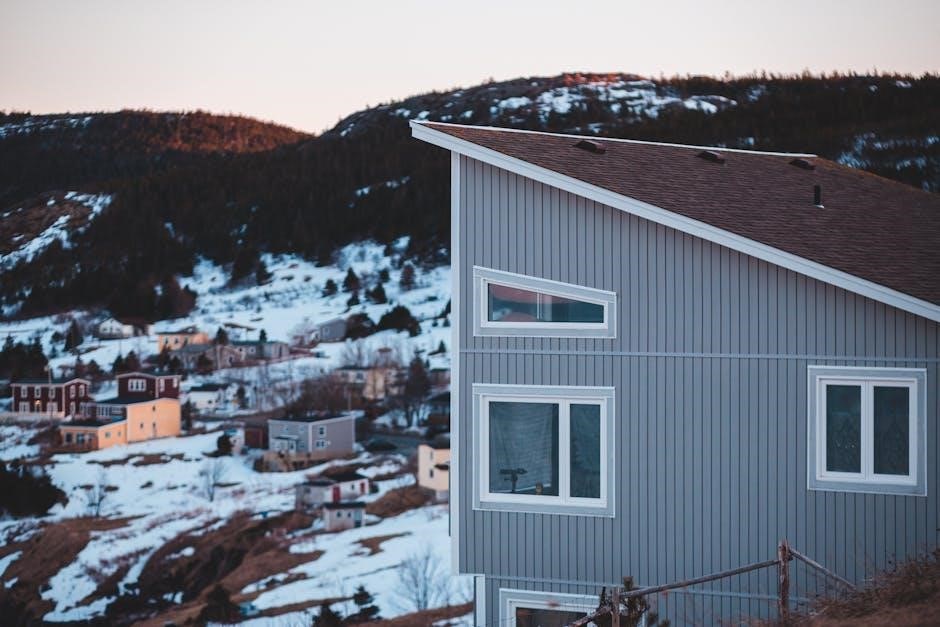
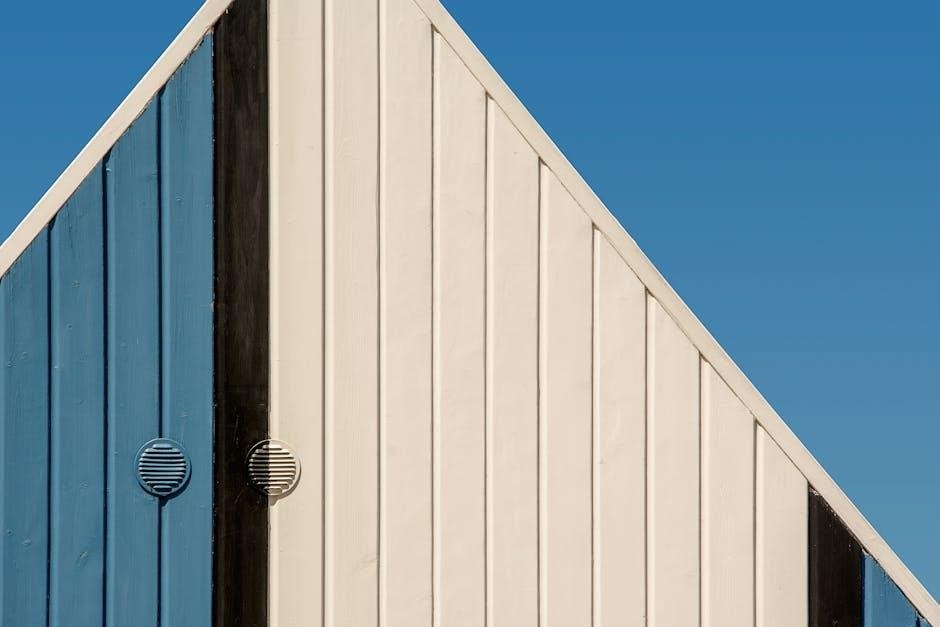
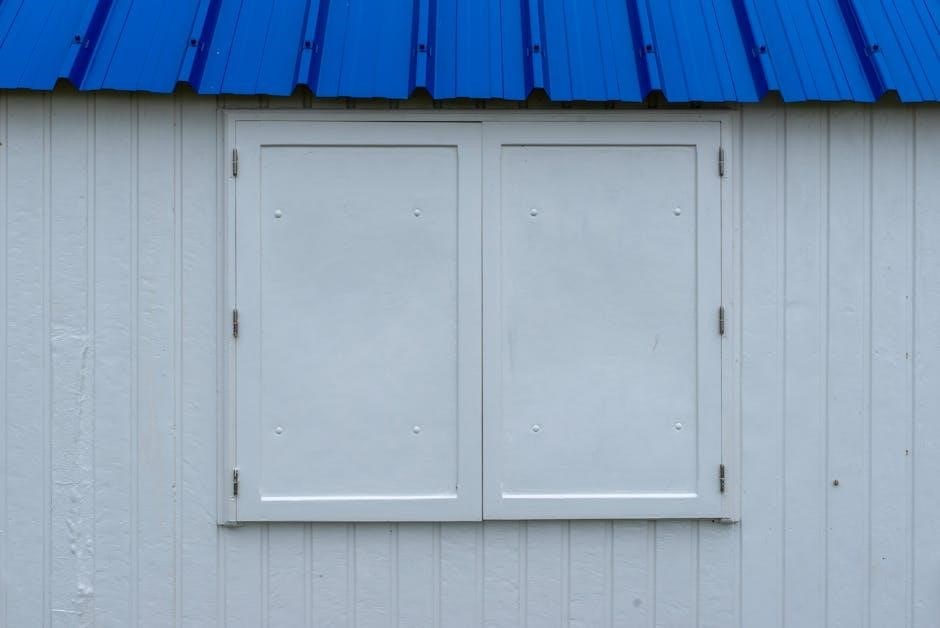
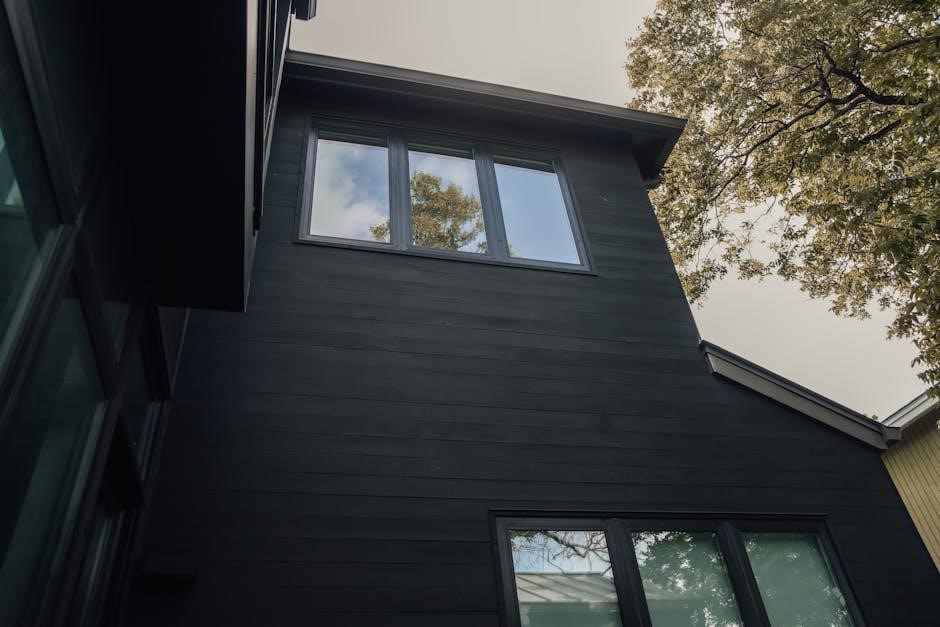
James Hardie board and batten siding mimics the traditional look of wood‚ but utilizes a durable fiber cement material. It’s characterized by wide‚ vertical boards interspersed with narrower “battens” – strips that cover the seams. This creates a visually striking‚ textured appearance‚ offering a sophisticated aesthetic for any home. Unlike traditional wood‚ James Hardie is incredibly resistant to rot‚ pests‚ and fire‚ providing long-lasting protection and peace of mind.
The system typically involves installing vertical boards‚ followed by the battens which are then secured over the board seams. This method not only enhances the visual appeal but also contributes to the siding’s structural integrity. Modern installations‚ mirroring trends observed in 2026‚ often incorporate smart navigation and efficient cleaning systems‚ similar to advanced pool robots‚ ensuring a seamless and long-lasting finish. It’s a popular choice for both new construction and renovations‚ offering a blend of classic charm and contemporary performance.
Benefits of Choosing Board and Batten Siding
Selecting James Hardie board and batten offers numerous advantages over traditional siding materials. Its exceptional durability resists impacts‚ warping‚ and cracking‚ ensuring a long-lasting exterior. Fiber cement is non-combustible‚ providing superior fire resistance – a crucial safety feature. Unlike wood‚ it won’t rot or attract pests‚ minimizing maintenance and repair costs.
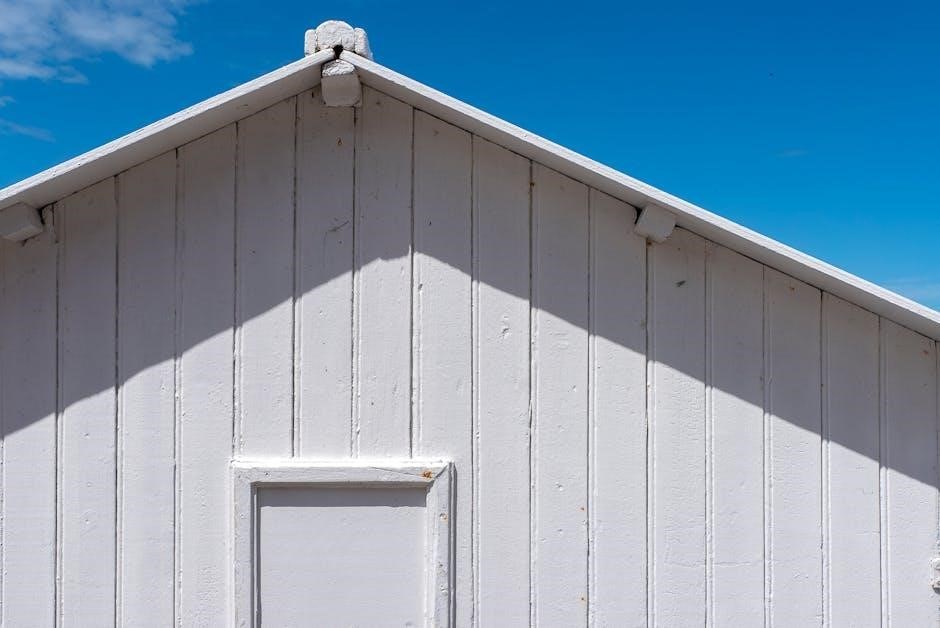
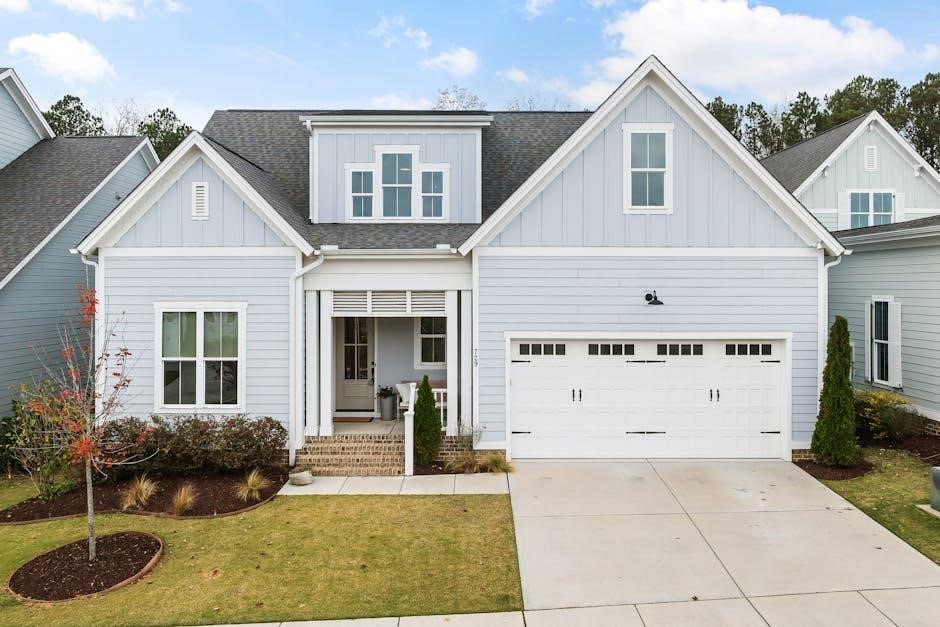
Aesthetically‚ board and batten delivers a timeless‚ farmhouse-inspired look that boosts curb appeal. James Hardie’s pre-finished options reduce painting needs‚ and the siding holds paint exceptionally well‚ maintaining its color for years. Installation‚ mirroring the precision of modern pool cleaning robots seen in 2026‚ ensures a tight‚ weather-resistant seal. Furthermore‚ it increases a home’s value and offers a versatile design that complements various architectural styles‚ making it a smart investment for homeowners.

Planning Your Installation
Careful planning is essential for a successful James Hardie board and batten project‚ mirroring the preparation needed for automated pool cleaning systems in 2026.
Measuring and Calculating Materials
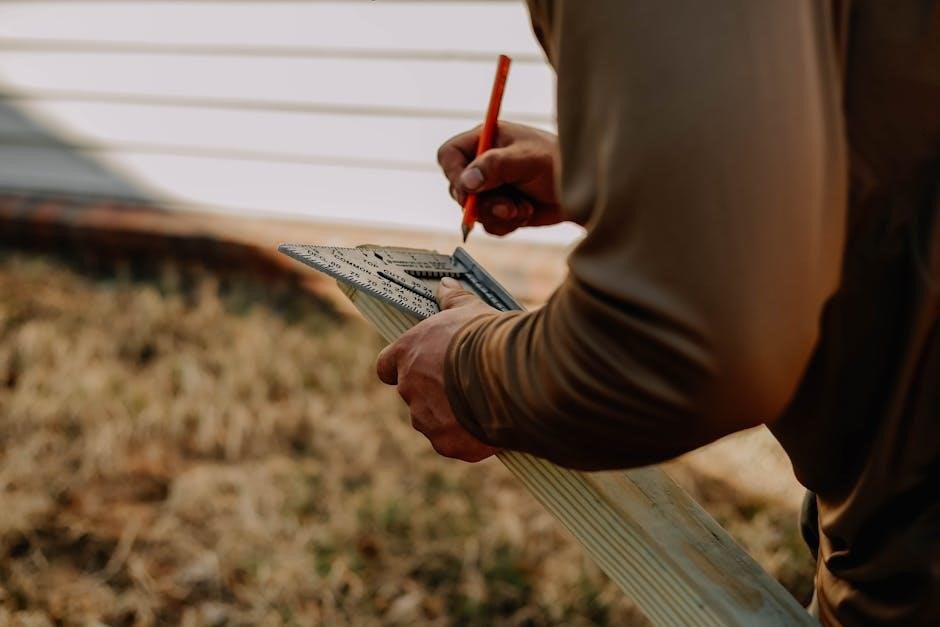
Accurate measurements are paramount when estimating materials for your James Hardie board and batten installation. Begin by calculating the total square footage of the wall surface‚ accounting for all windows‚ doors‚ and other openings. Remember to add a waste factor – typically 10-15% – to cover cuts and potential damage.
Determine the board width and batten spacing you desire; this impacts the quantity needed. Calculate the linear feet of board and batten required based on the wall height and width. Don’t forget to factor in starter strips‚ corner posts‚ and any necessary trim pieces.
Similar to planning for a pool robot’s coverage area‚ precise calculations prevent shortages and costly delays. Consult James Hardie’s material calculators and installation guides for specific recommendations. Proper planning‚ like selecting a robot with adequate filter capacity‚ ensures a smooth and efficient project.
Tools Required for Installation
Successful James Hardie board and batten installation demands a specific toolkit. Essential tools include a measuring tape‚ level (both 4-foot and torpedo)‚ chalk line‚ and a circular saw with a fiber-cement blade – crucial for clean‚ precise cuts. A nail gun specifically designed for fiber cement siding is highly recommended‚ alongside appropriate corrosion-resistant nails.
Safety gear is non-negotiable: safety glasses‚ dust mask‚ and work gloves are vital. A hammer‚ utility knife‚ and caulk gun will also prove useful. Similar to a pool robot needing a power source‚ ensure you have access to electricity for power tools.
Consider a siding removal tool if replacing existing siding. Having the right tools‚ much like choosing a robot with strong suction‚ streamlines the process and ensures a professional finish.
Understanding Building Codes and Permits
Before commencing any James Hardie board and batten installation‚ thoroughly research local building codes and permit requirements. Regulations vary significantly by location‚ dictating aspects like siding material acceptance‚ fastening methods‚ and fire resistance standards. Ignoring these can lead to costly rework and potential legal issues‚ much like a pool robot failing to meet safety standards.
Contact your local building department to ascertain necessary permits. They can provide specific guidelines for your project‚ including required inspections. Ensure your installation plan adheres to wind load requirements‚ particularly crucial for board and batten due to its vertical orientation.
James Hardie provides technical documentation to aid compliance. Familiarize yourself with these resources. Proper permitting ensures a safe and legally sound installation‚ protecting your investment.
Installation Process: A Step-by-Step Guide
Begin with meticulous wall preparation‚ followed by a secure starter strip installation. Carefully attach the initial board and batten pieces‚ ensuring proper overlap and consistent fastening for optimal results.
Preparing the Wall Surface
Proper wall preparation is crucial for a successful James Hardie board and batten installation. Begin by thoroughly inspecting the existing wall structure‚ addressing any damage like rot or mold before proceeding. Remove any existing siding‚ nails‚ or staples‚ ensuring a clean and level surface.
Sheathing should be structurally sound and meet Hardie’s specifications; repair or replace damaged sections. A weather-resistant barrier‚ like house wrap‚ is essential for moisture protection‚ overlapping seams correctly. Ensure the wall is plumb and square‚ correcting any irregularities to avoid issues during siding installation.
Pay close attention to window and door openings‚ ensuring they are properly flashed to prevent water intrusion. A well-prepared surface guarantees a secure and aesthetically pleasing final result‚ maximizing the longevity of your James Hardie siding.
Installing the Starter Strip
The starter strip is fundamental for establishing a level and consistent base for your James Hardie board and batten siding. Begin at the lowest point of the wall‚ ensuring it’s perfectly aligned using a level. This strip provides a secure attachment point for the first row of boards and dictates the overall horizontal alignment.
Use corrosion-resistant fasteners‚ specifically designed for fiber cement siding‚ to secure the starter strip to the wall sheathing. Maintain consistent spacing between fasteners‚ following Hardie’s guidelines. Proper installation prevents future sagging or unevenness.
Double-check the level frequently during installation‚ making adjustments as needed. A correctly installed starter strip is paramount for a professional-looking finish and ensures subsequent boards align seamlessly‚ contributing to the siding’s long-term performance and aesthetic appeal.
Attaching the First Board and Batten Pieces
Begin with the first board‚ carefully aligning it with the installed starter strip. Ensure a consistent reveal – the exposed portion of the board – as specified by James Hardie’s installation guidelines. Use the recommended corrosion-resistant fasteners‚ typically stainless steel or coated screws‚ designed for fiber cement.
Fasten the board securely to the wall studs‚ maintaining proper spacing as outlined in the installation manual. Avoid over-tightening‚ which can damage the board. Pre-drilling pilot holes is often recommended‚ especially near the board’s edges.
Once the first board is secured‚ position the first batten piece vertically‚ overlapping the board’s edges; Fasten the batten using the same recommended fasteners and spacing. Consistent alignment and secure fastening are crucial for a visually appealing and structurally sound installation.
Overlapping and Securing Subsequent Boards
Continue installing boards‚ ensuring proper overlap according to James Hardie’s specifications – typically 1/4 inch – to facilitate natural expansion and contraction and prevent moisture intrusion. Stagger the vertical joints for enhanced structural integrity and a more visually appealing aesthetic.
Secure each subsequent board using the recommended fasteners‚ maintaining consistent spacing and avoiding over-tightening. Pre-drilling pilot holes remains advisable‚ particularly near edges. Regularly check for plumb and level to ensure a straight and uniform siding installation.
Pay close attention to maintaining the established reveal throughout the process; Consistent overlap and secure fastening are paramount for a durable‚ weather-resistant‚ and aesthetically pleasing board and batten siding system‚ mirroring the quality found in advanced pool cleaning technologies.
Installing the Battens
Begin installing the battens vertically over the installed board sections‚ aligning them precisely with the studs or framing members. Maintain consistent spacing between battens‚ typically dictated by the desired aesthetic and James Hardie’s guidelines. Pre-drilling pilot holes is crucial to prevent splitting‚ especially with the fiber cement material.
Secure the battens using appropriate fasteners‚ ensuring they are flush against the board surfaces. Consistent fastener depth is vital for a professional finish. Regularly check for plumb to guarantee vertical alignment‚ mirroring the precision needed for automated pool cleaning systems.
Proper batten installation not only enhances the visual appeal but also contributes significantly to the structural integrity and weather resistance of the siding‚ creating a durable and long-lasting exterior.
Finishing Touches and Considerations
Final steps involve meticulous caulking‚ sealing‚ and painting/staining for weather protection and aesthetic appeal‚ ensuring long-term durability and a polished look.
Caulking and Sealing
Proper caulking and sealing are crucial for a weather-tight and long-lasting James Hardie board and batten installation. Focus on all joints‚ gaps around windows and doors‚ and where the siding meets trim. Use a high-quality‚ paintable acrylic latex caulk specifically designed for exterior use; silicone caulk isn’t recommended as it hinders paint adhesion.
Apply caulk evenly‚ creating a smooth bead that effectively prevents water penetration. Backer rod can be used in larger gaps to reduce caulk usage and improve adhesion. After caulking‚ thoroughly inspect all areas to ensure complete coverage. Sealing the edges of the boards‚ particularly where they overlap‚ adds an extra layer of protection against moisture. This prevents potential issues like swelling‚ warping‚ and mold growth‚ extending the life of your siding and maintaining its aesthetic appeal. Remember to follow the caulk manufacturer’s instructions for application and drying times.
Painting or Staining the Siding
James Hardie board and batten siding requires painting or staining to maintain its warranty and protect against the elements. Use a 100% acrylic latex paint specifically formulated for fiber cement siding; oil-based paints aren’t recommended. Priming is essential‚ especially for previously uncoated surfaces‚ to ensure proper adhesion and a uniform finish. Choose a color that complements your home’s architecture and surrounding landscape.
Apply two coats of paint‚ following the manufacturer’s instructions for drying times between coats. Back-brushing or rolling helps work the paint into the textured surface for optimal coverage. Staining is also an option‚ offering a natural wood look‚ but requires a stain specifically designed for fiber cement. Regular repainting or restaining‚ typically every 5-15 years depending on climate‚ will preserve the siding’s appearance and longevity. Proper surface preparation is key for a lasting‚ beautiful finish.
Proper Fastener Selection and Techniques
Selecting the correct fasteners is crucial for a secure and long-lasting James Hardie board and batten installation. Always use corrosion-resistant stainless steel ring shank nails specifically designed for fiber cement siding; galvanized nails are not sufficient. Nail length should penetrate at least 1 inch into the framing‚ ensuring a strong hold. Avoid using screws‚ as they can cause cracking.
Nailing technique is equally important. Nails should be driven flush with the siding surface‚ avoiding overdriving or hammering at an angle. Maintain consistent spacing‚ typically 6-8 inches apart along vertical battens and 12 inches apart along horizontal boards. Proper nail placement prevents buckling and ensures the siding remains securely attached‚ even in harsh weather conditions. Following Hardie’s specific fastening guidelines is essential for warranty compliance and a professional finish.
Dealing with Corners and Obstacles
Navigating corners and obstacles requires careful planning and precise cutting with James Hardie board and batten. Outside corners necessitate overlapping boards‚ creating a clean‚ professional look. Inside corners often require mitering or the use of pre-fabricated corner posts for a seamless finish. Around windows‚ doors‚ and other openings‚ maintain consistent reveal spacing for aesthetic uniformity.
Obstacles like pipes or electrical boxes demand creative solutions. Cut openings in the siding slightly larger than the obstruction‚ allowing for expansion and contraction. Utilize trim pieces to conceal gaps and maintain a weather-tight seal. Proper flashing around penetrations is vital to prevent moisture intrusion. Accurate measurements and careful execution are key to overcoming these challenges and achieving a polished‚ durable installation.
Ventilation and Moisture Management
Proper ventilation is crucial behind James Hardie board and batten to prevent moisture buildup and maintain siding integrity. A ventilated rainscreen gap allows air circulation‚ facilitating drying and reducing the risk of rot or mold. Ensure adequate intake and exhaust vents are strategically placed within the wall assembly‚ adhering to local building codes.
Moisture management also involves utilizing a weather-resistant barrier (WRB) beneath the siding. Overlap the WRB seams correctly and seal them with appropriate tape. Pay close attention to flashing around windows‚ doors‚ and other penetrations to divert water away from the structure. Maintaining a dry wall cavity is paramount for long-term performance and preventing costly repairs‚ ensuring a durable and healthy home exterior.
Troubleshooting Common Issues
Addressing installation challenges‚ gaps or uneven surfaces require careful caulking and adjustments. Prevent mold by ensuring proper ventilation and promptly addressing moisture concerns for lasting results.
Addressing Gaps and Uneven Surfaces
Minor gaps between James Hardie board and batten pieces are common‚ especially on older structures‚ and require diligent attention during installation. Thoroughly inspect the wall surface before beginning; proper preparation is crucial for a seamless finish. Utilize high-quality‚ exterior-grade caulk specifically designed for fiber cement siding to fill any gaps – this prevents water intrusion and maintains the siding’s integrity.
Uneven surfaces can create challenges with consistent board alignment. Shimming behind the boards may be necessary to achieve a perfectly level appearance. Ensure the starter strip is installed correctly‚ as this forms the foundation for all subsequent boards. For larger irregularities‚ consider furring out the wall to create a uniformly flat surface before installation. Remember‚ consistent checking with a level throughout the process is vital for a professional outcome‚ avoiding future maintenance headaches.
Preventing Mold and Mildew Growth
James Hardie board and batten‚ while incredibly durable‚ isn’t entirely immune to mold and mildew‚ particularly in humid climates. Proper ventilation is paramount; ensure adequate airflow behind the siding to prevent moisture buildup. Maintaining a consistent gap between the siding and any underlying materials‚ like foam or insulation‚ is crucial for effective moisture management.
Regular cleaning is also essential. Periodically wash the siding with a mild detergent and water solution‚ paying close attention to areas prone to shade and moisture retention. Consider applying a mildewcide as a preventative measure‚ following the manufacturer’s instructions carefully. Addressing any water leaks promptly‚ whether from roofing or plumbing‚ will further minimize the risk of fungal growth‚ preserving the siding’s appearance and longevity. Consistent upkeep safeguards your investment.
Maintaining Your James Hardie Board and Batten Siding
James Hardie board and batten requires minimal upkeep‚ contributing to its long-term value. Annual inspections are recommended to identify any potential issues early on‚ such as loose fasteners or damaged boards. Regularly clean the siding with a gentle brush and water‚ removing dirt‚ dust‚ and debris. Avoid using high-pressure washers‚ as they can damage the surface.
Touch-up paint should be applied as needed to maintain a consistent appearance and protect against the elements. Inspect caulking around windows and doors‚ reapplying it when necessary to prevent water intrusion. Promptly address any signs of mold or mildew growth with a suitable cleaning solution. Following these simple maintenance steps will ensure your James Hardie siding remains beautiful and durable for years to come‚ preserving its aesthetic appeal and protective qualities.